Your First Week on Fomo: A Beginner Checklist
A day-by-day plan for your first week on Fomo: lock the account, make a small deposit, buy, sell and withdraw, and skip the 8 mistakes new users make.

The first week on Fomo decides whether the app feels simple or stressful. Most of the problems new users post about, from an empty account to a deposit that never shows up or a sale they can't make, come from a handful of steps done in the wrong order. This checklist puts them in the right order, one small job a day, so that by day seven you have deposited, bought, sold, withdrawn and secured your account without risking much money.
You can squeeze it into one evening. Spreading it over a week gives you time to watch the market before you put more in.
Day 1: Sign up and lock the account
- Sign in with Apple or Google, and write down which one. Each login opens its own account. Picking a different one later is the number one reason people think their money disappeared. The guide to creating a Fomo account walks through the screens.
- Add a referral code now if you want the discount. A code cuts the 0.50% trading fee to 0.45%, and it has to go in before your first trade. Our referral code page shows where to enter referral code GEMQUEENX.
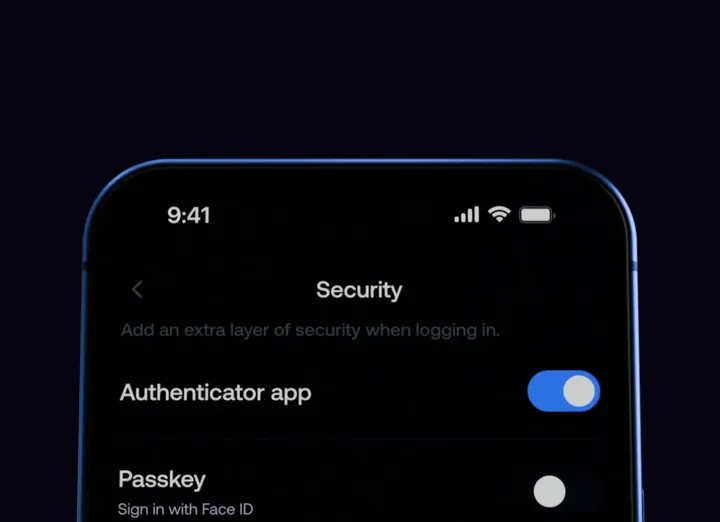
- Turn on MFA. Settings, then Security, then Multi-factor authentication. MFA on Fomo has no recovery codes, so use an authenticator app that backs up, and add a passkey once it's on.
- Turn on Screen Lock in the same menu, so a borrowed phone can't open your wallet.
- Pick your language under Settings, then Language. There are seven, and the app can follow your phone's language.
Day 2: Make a small first deposit
Put in an amount you could lose without minding, and keep it small for this first week. Somewhere between $20 and $50 is plenty to learn on.
- No crypto yet? Tap Deposit, then Debit, and pay with Apple Pay or a bank debit card. The Apple Pay minimum is $5. Prepaid and virtual cards get declined, and retrying a declined card again and again locks deposits for at least an hour.
- Hold USDC on an exchange? Tap Deposit, then Crypto, pick Solana and send USDC on Solana. There's no minimum and it lands in seconds to minutes.
- Know the trap: the Apple Pay tile on the Deposit with screen buys one specific token. It doesn't add cash. For cash, go through Debit.
Every method, its minimum and its speed is in how much money you need to start on Fomo.
Day 3: Look around before you buy
- Open the Tokens list on Home and tap Most held. These are coins many Fomo users own, a calmer start than Bonding, where brand new coins swing hard.
- Star three or four tokens you want to watch. They go to your Watchlist.
- Open the Leaderboard and look at a few traders' positions and history before you follow anyone. Rankings change every week.
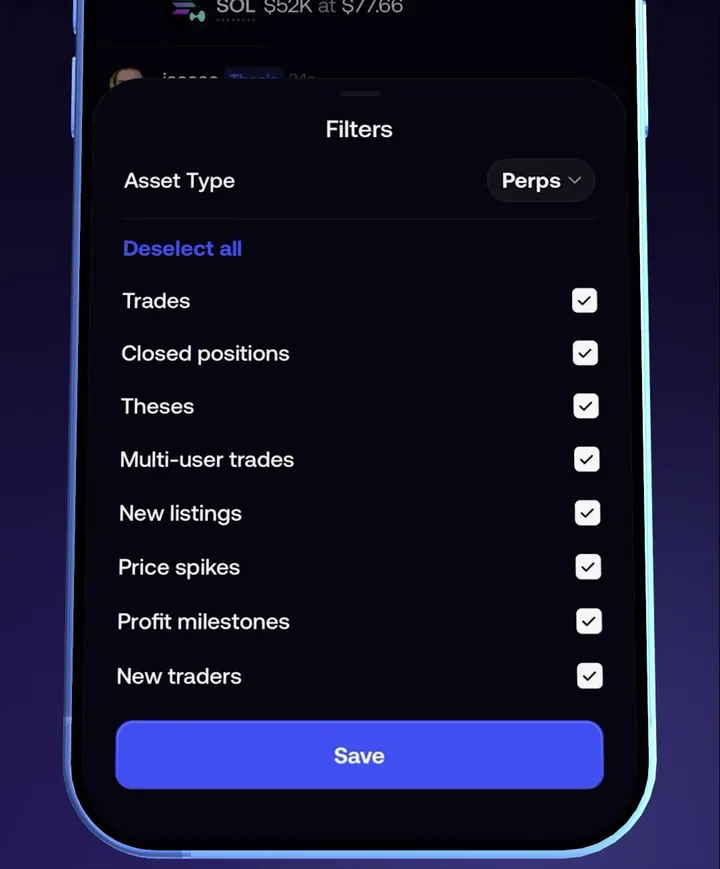
- Follow a handful of them, then switch the Feed to Following. If it looks empty, that's because trades under $1,000 are hidden by default; open Filters and set Minimum size to All.
One thing to know about trader profiles: the Send button there sends that person money. Fomo has no copy trading, so there's nothing on a profile that copies their trades for you.
Day 4: Make your first buy
- Find the token by its contract address rather than its name. Lookalike coins copy popular names, and search by name can miss small tokens.
- On the token page, check the market cap, the liquidity and the Holders tab. Read any warning label before you go further. A fresh token that just graduated shows as Unverified.
- Enter $10 to $20 and open the trade details. Check the fee, the Network fee row if the token isn't on Solana, and the Slippage row, which can stay on Auto.
- Slide to confirm, then find the position on your Portfolio tab.
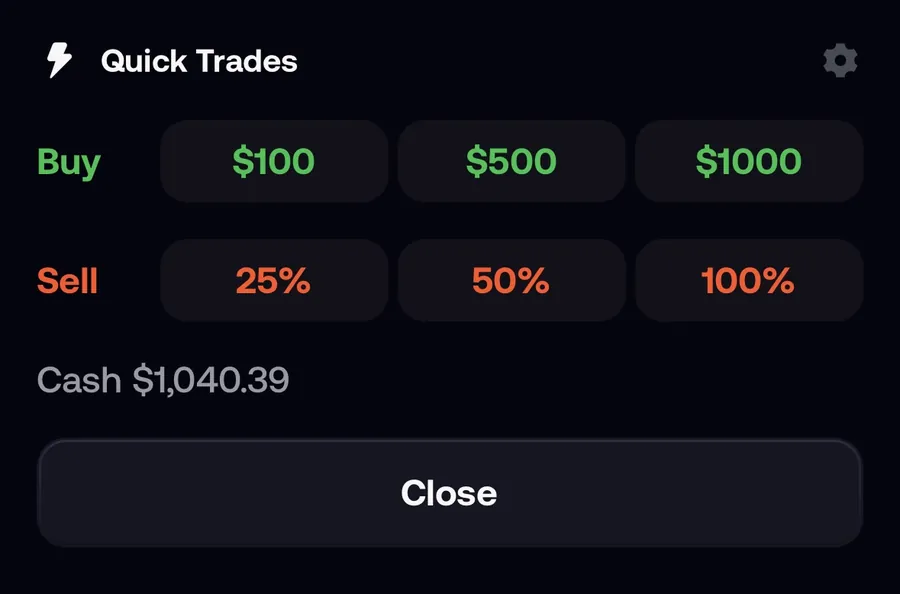
Leave Quick Trades alone for now. Those lightning-bolt chips send an order the moment you tap, with no confirmation, and the 100% sell chip sells the whole position. The full walkthrough is in how to buy your first token on Fomo.
Day 5: Sell, and read your PnL
- Sell part or all of the position from the token page. The minimum sell is 2 USDC on most chains and 5 USDC on Ethereum, which is why a first buy of $3 is a bad idea.
- Compare the quote with what landed. On fast or thin coins the fill can differ from the quote, and your realized PnL uses the price you actually got.
- Look for leftovers. Anything worth under $2 is hidden as dust. Tap Show hidden to see it.
Two buys and two sells of $10 each cost you about $0.80 in fees on Solana. That's the price of the lesson, and it's worth knowing before you trade bigger.
Day 6: Practise a small withdrawal
Learn the way out while the stakes are low. Open the Portfolio tab and tap the three dots next to your cash balance, then Withdraw.
- Send a few dollars of USDC to a wallet or exchange you control, and pick the network the receiving side supports. Sending on the wrong network can lose the funds for good.
- Never withdraw to a PayPal, Venmo, Robinhood or Wealthsimple crypto address. Fomo warns that funds sent to those are lost.
- Turn on MFA first if you skipped it; every withdrawal asks for it.
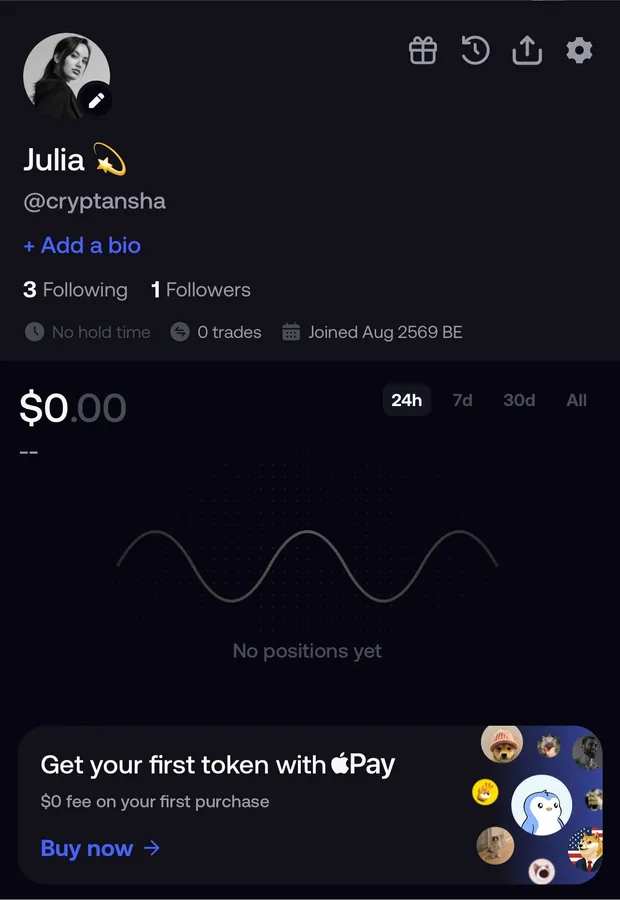
After the withdrawal, the chart on your profile drops. That's the money leaving, not a trading loss.
Day 7: Review and tighten up
- Check your security again. MFA on, Screen Lock on, private key never exported unless you needed it, and no browser extensions you don't recognise.
- Remember who support is. Nobody at Fomo will DM you first. If you need help, open a ticket from Settings, then Help and Support. Here's how to contact Fomo support and what to send.
- Decide on your trade size from what you learned about fees. At $100 a Solana round trip costs about 1.9%; at $10 it's about 4%.
- Leave perps for later. They need at least 5 USDC moved into a separate perps balance and positions of 15 USDC or more, they aren't open to U.S. persons, and leverage can wipe out the margin on a small move.
Mistakes this checklist helps you avoid
| Mistake | What happens | Avoided on |
|---|---|---|
| Signing in with another Apple ID or Google account | A second, empty account opens | Day 1 |
| Adding a referral code after trading | Too late; it only works before your first trade | Day 1 |
| USDC on the wrong network, or USDC to Robinhood Chain | The deposit never becomes cash | Day 2 |
| Tapping the Apple Pay token tile for cash | You buy a coin instead of topping up | Day 2 |
| Searching only by name | You buy a lookalike token | Day 4 |
| Using the 100% Quick Trade chip by accident | The whole position sells with no confirmation | Day 4 |
| Buying $3 positions | They fall under the 2 USDC sell minimum | Day 5 |
| Withdrawing to a PayPal or Venmo address | The funds are lost | Day 6 |
Words on the screen that still look strange? The Fomo glossary explains 57 of them, and the tab-by-tab tour shows where everything lives.
 Written by Mohammad ShahpariCrypto and SEO specialist
Did this answer your question?
Thanks for the feedback.